Docker Installation
This section of the documentation will cover the steps required for users who wish to develop using Docker. Changes to your code will be made on your development machine, and the resulting application will be run in Docker.
1. Downloading Docker
The installation process for Docker will differ slightly between Windows, Mac and Linux users. See the section below that corresponds to your operating system.
Windows
It is recommended to download the latest version of Windows Subsystem for Linux. More information can be found at this link
1. Download Docker Desktop:
- Visit the Docker Desktop for Windows download page: Docker Desktop for Windows
- Click on the "Get Docker Desktop for Windows" button to download the installer.
2. Install Docker Desktop:
- Run the installer you downloaded.
- Follow the installation wizard, and make sure to enable Hyper-V (if prompted) as Docker for Windows uses Hyper-V for virtualization.
- Once installation is complete, Docker Desktop will start automatically.
3. Verify Installation:
- Open a terminal and run the command
docker --versionto verify that Docker is installed and working correctly.
Mac
1. Download Docker Desktop:
- Visit the Docker Desktop for Mac download page: Docker Desktop for Mac
2. Install Docker Desktop:
- Run the installer you downloaded.
- Once installation is complete, Docker Desktop will start automatically.
3. Verify Installation:
- Open a terminal and run the command
docker --versionto verify that Docker is installed and working correctly.
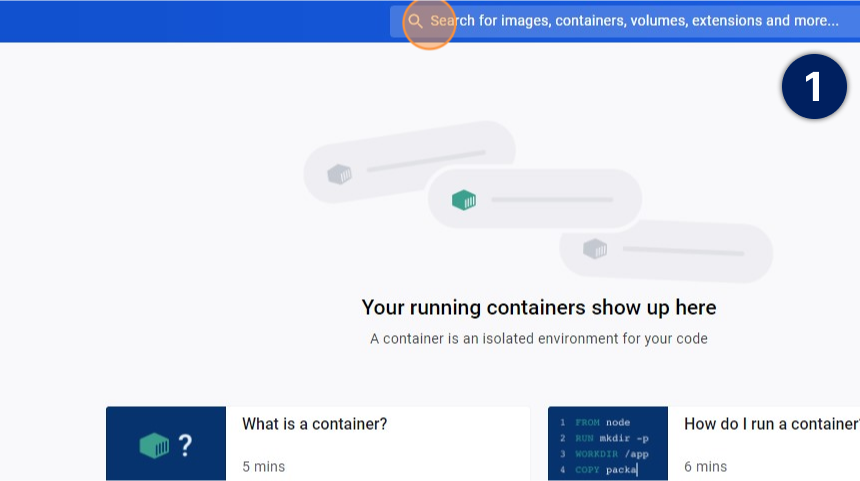
2. Configuration
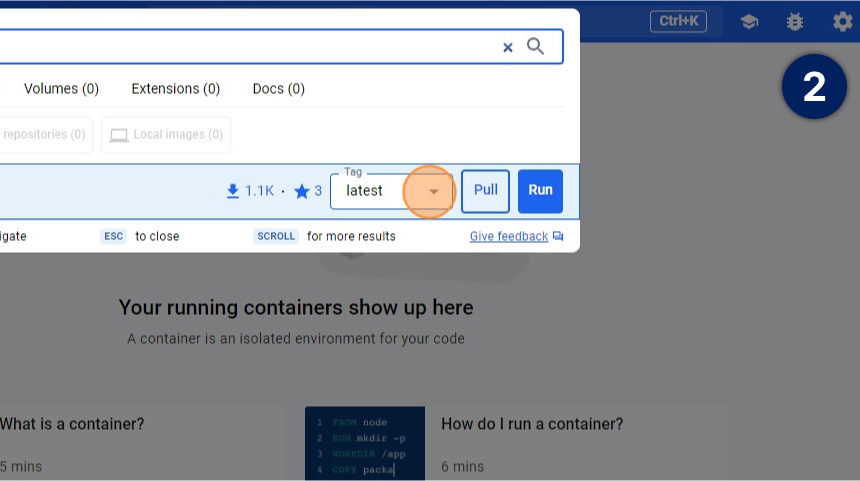
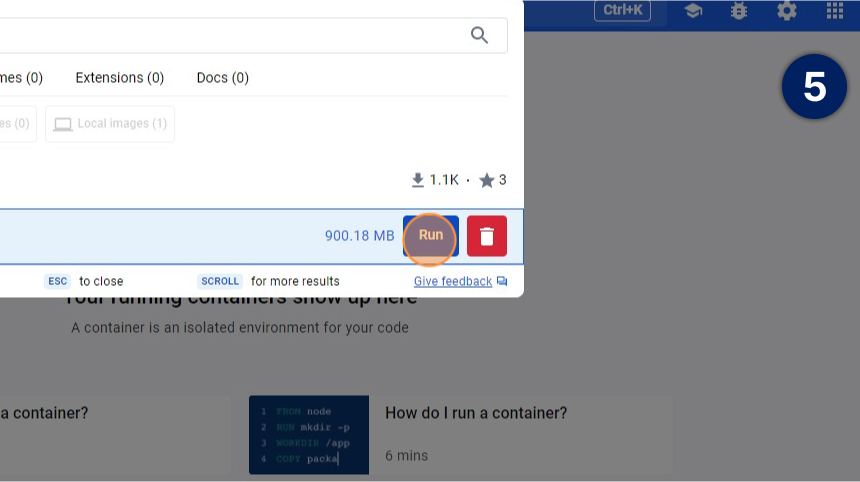
Once Docker Desktop has been downloaded, search for the latest webforJ image, which is currently under the name webforj/sandbox.
Click on the list of tags to see the available options
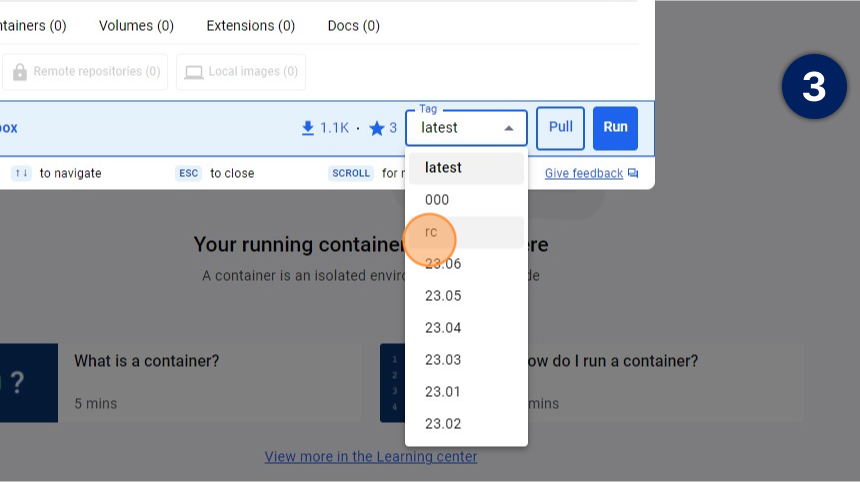
For the most recent build, select "rc"
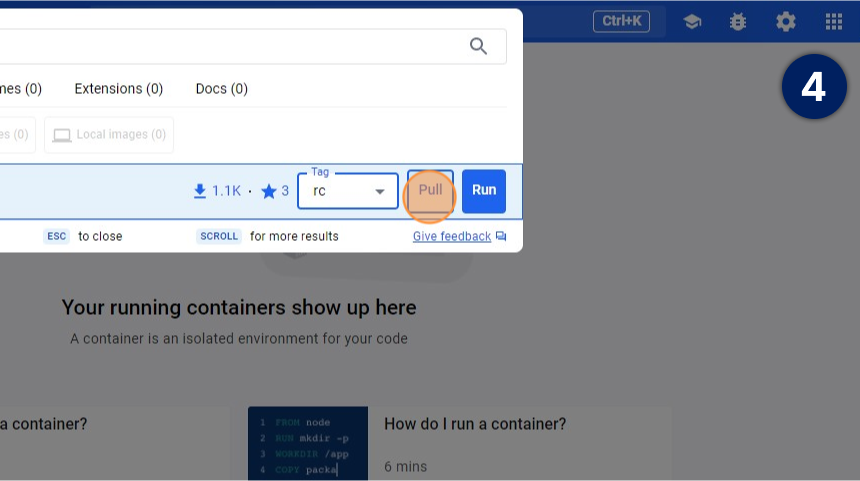
Pull the image to start your container
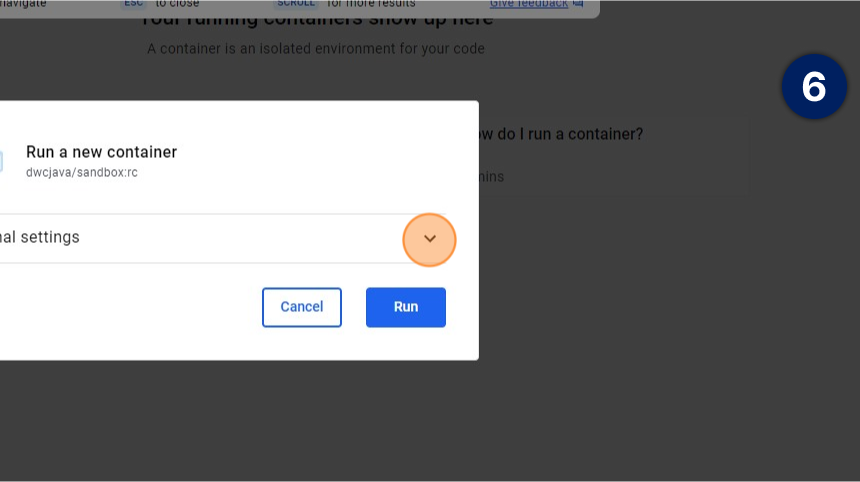
Once the download is complete, click the run button, which will open configuration settings
Open the "Optional settings" menu
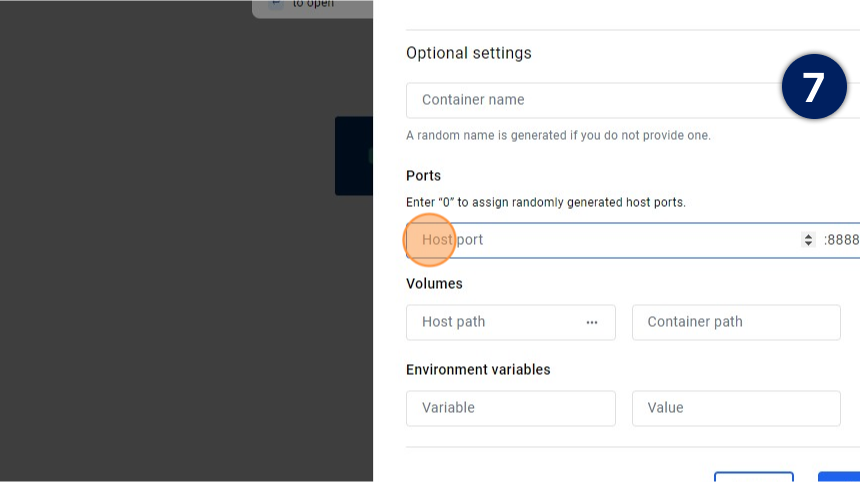
Select a desired host port where you can see your application running within Docker
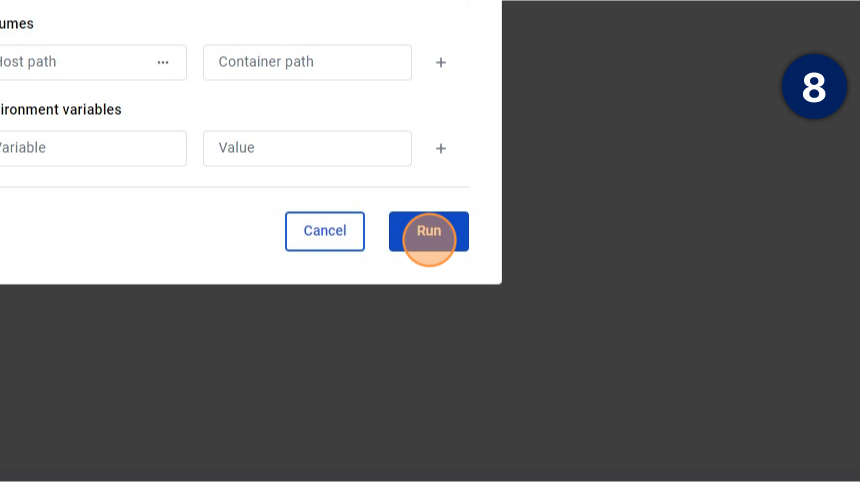
Click "Run" to start the container
Make sure to take note of the custom Host port number you provide, as this will be needed later.
3. Running Your Application
Once the container has been created, webforJ applications can be run within the container instead of locally. First, it is necessary to configure the POM file of your project correctly. Once this is done, going to a specific URL in the browser will show the application.
Configuring your POM file
Running a webforJ project in the Docker container will require the use of the webforJ Install Plugin, which can be configured using your POM file:
Create a new <plugin> entry in <plugins> section of POM. The following code shows a starting entry that can be used and tweaked as
needed for your project:
If your POM file does not have a <plugins> section, create one.
<plugin>
<groupId>com.webforj</groupId>
<artifactId>webforj-install-maven-plugin</artifactId>
<version>${webforj.version}</version>
<executions>
    <execution>
    <goals>
        <goal>install</goal>
    </goals>
    </execution>
</executions>
<configuration>
    <deployurl>http://localhost:8888/webforj-install</deployurl>
    <classname>samples.HelloWorldApp</classname>
    <publishname>hello-world</publishname>
    <debug>true</debug>
</configuration>
</plugin>
Once an entry similar to the one above has been created, customize the following information:
-
Change the
<deployurl>entry to use the port number that you match the Host port that you configured for your container in the previous step. -
Ensure that the
<classname>entry matches the name of the application you want to run. -
If your
<username>and<password>credentials are different for your installation of BBj, change these.
The webforj-hello-world project will come with the POM file already mostly configured - with other settings remaining the same, only the <deployurl> tag will need to be changed.
Launching the Application
Once this has been done, run a mvn install in your project directory. This will run the webforJ install plugin, and allow
you to access your application. To see the application, you'll want to go to the following URL:
http://localhost:YourHostPort/webapp/YourPublishName
Replace YourHostPort with the Host port you configured with Docker, and YourPublishName is replaced by the text inside the <publishname> tag of the POM.
If done correctly, you should see your application render!